Every van that comes into the Kinmel Campers workshop brings its own story, its own challenges, and its own opportunities for creativity. Some jobs follow a familiar pattern, such as fitting a standard pop-top roof, installing a rock-and-roll bed, or trimming out a new interior. But every so often, we get a project that pushes our skills, craftsmanship, and problem-solving ability to the next level.
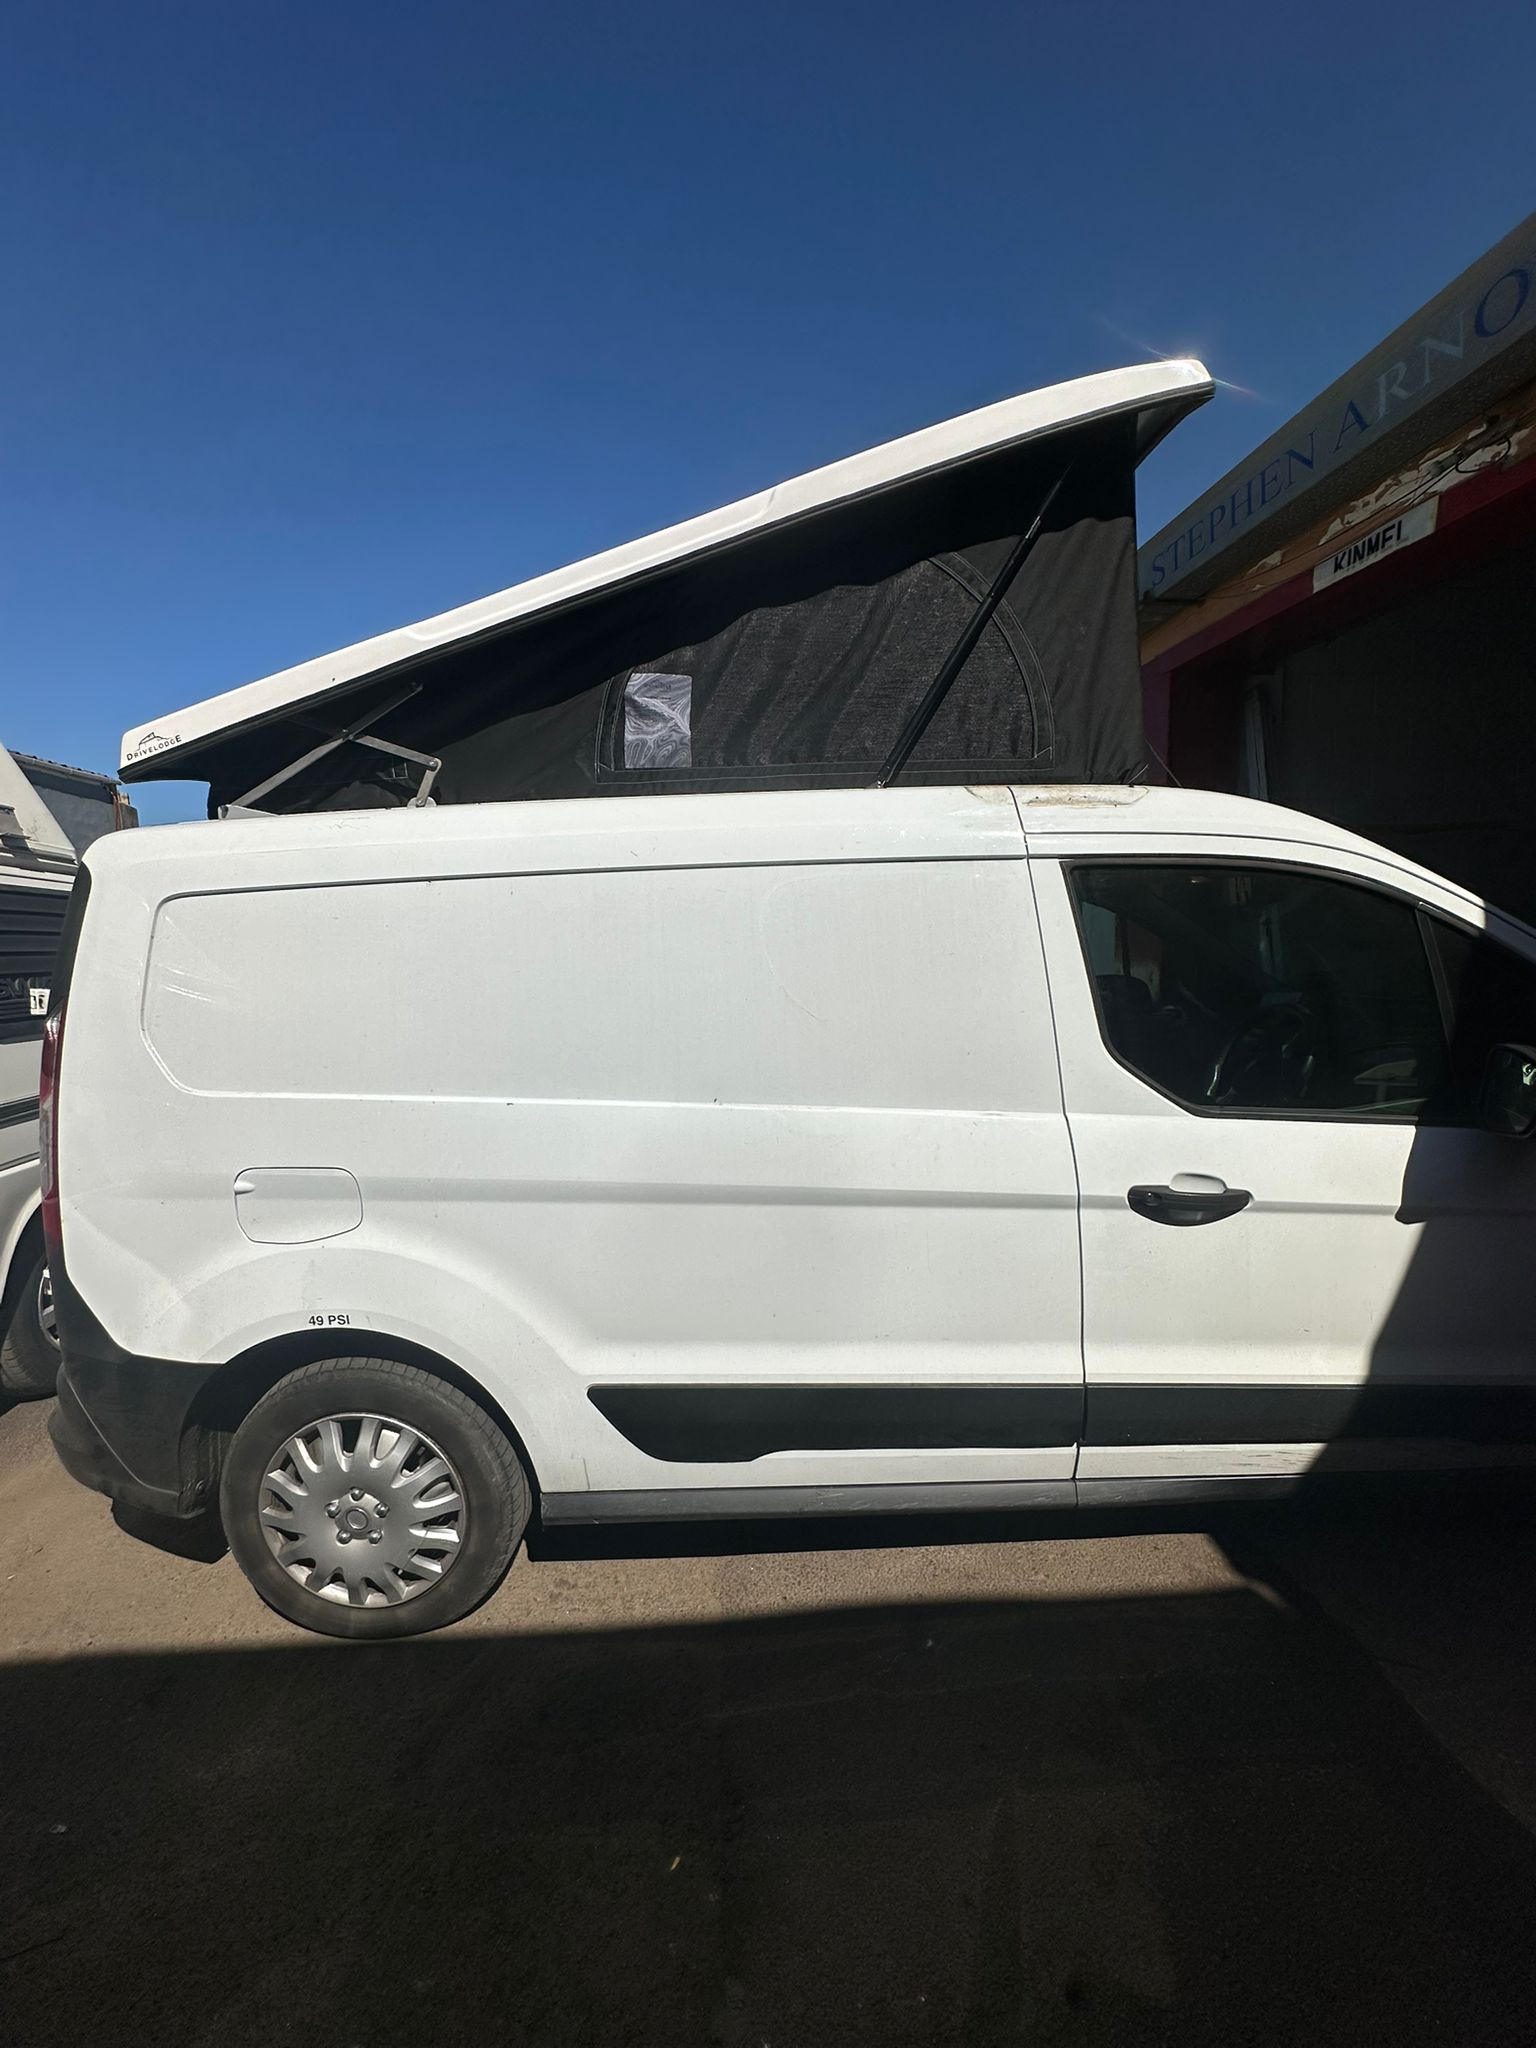
This Ford Transit Custom H2 is the perfect example.
At first glance, the customer wanted a straightforward set of upgrades:
- Pop-top roof supplied and fitted
- Rear seating installed
- New flooring laid
- Interior lighting added
But the moment we saw the van, we knew this wouldn’t be a standard Transit Custom pop-top installation. The H2 height completely changes how a pop-top can be fitted, how the structure behaves, and how much of the original roof can be safely removed. It required a very different approach, one that protected the strength of the van while still giving the customer the spacious, versatile campervan setup they wanted.
In this 2,000-word deep dive, we’ll walk you through the full process — from the initial inspection to fabrication, fitting, finishing touches, and the final handover. If you’re considering a pop-top for your own Transit Custom, especially an H2 model, this real project will help you understand exactly what’s possible and why craftsmanship matters.
Understanding the Challenge: Why an H2 Transit Custom Is Different
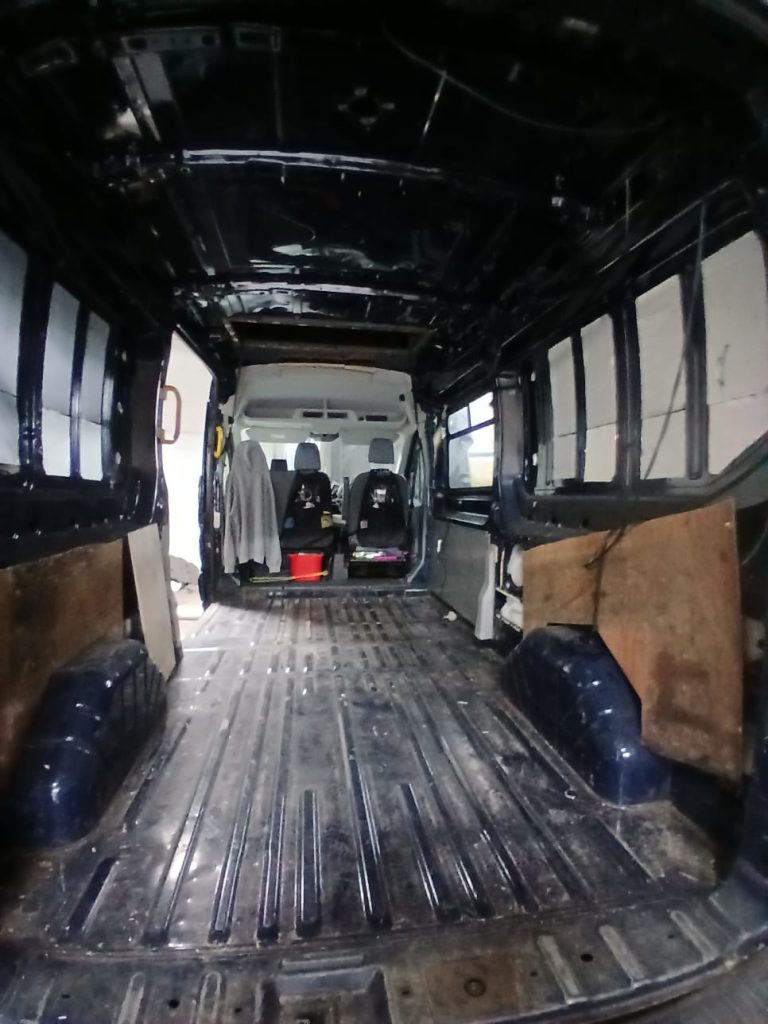
Most Transit Customs that come through the workshop are the standard-height version. These vans allow the complete removal of the factory roof skin, which then makes room for a full pop-top shell. But the H2 body presents a different set of engineering requirements.
The biggest challenge is maintaining the structural integrity of the van.
With an H2 Transit Custom:
- The roof sits higher than usual
- More of the upper structure is designed for rigidity
- Cutting out the entire roof could weaken the vehicle
- A traditional pop-top approach isn’t always safe
- Load distribution changes when the roof panel is removed
So rather than cutting out the entire roof like we normally would, we made a deliberate decision for safety and strength:
We kept the original roof in place.
This allows the van to retain its rigidity, prevents unnecessary body flex, and gives a solid foundation for the sleeping platform in the pop-top.
Keeping the roof intact also meant we needed a safe access point to the upper bed area — which is where our fabrication team stepped in.
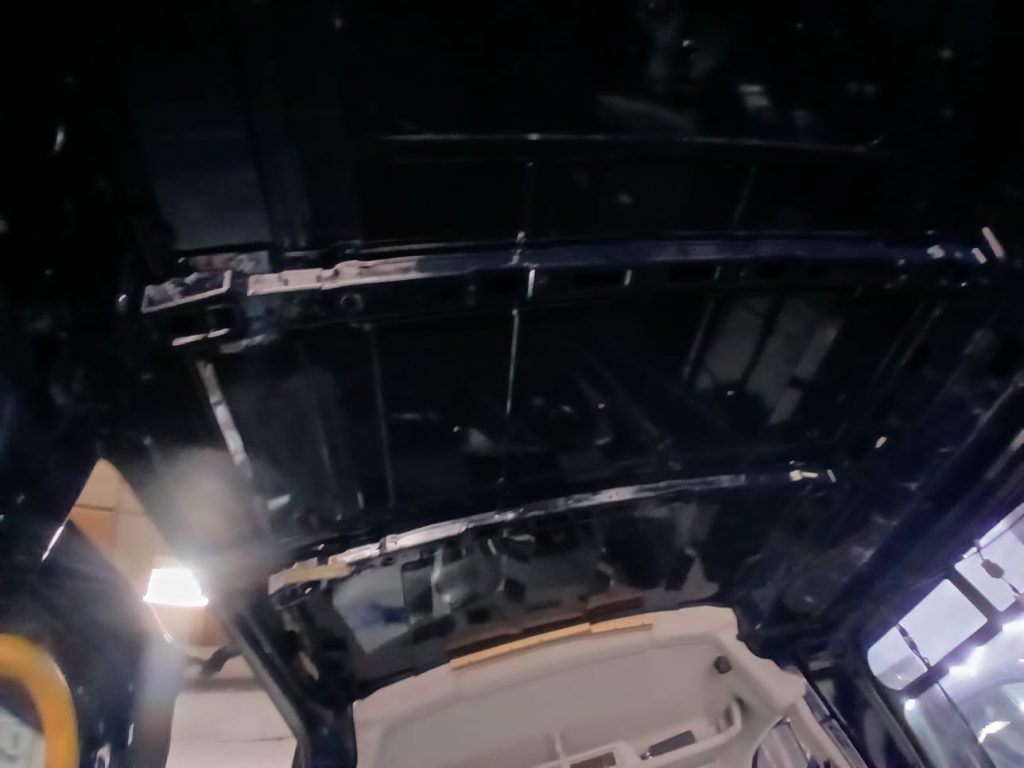
In-House Fabrication: A Custom Steel Pop-Top Hatch for Maximum Safety
With the roof staying in place, the next question was:
How do we create a safe opening that allows the customer to move between the main cabin and the pop-top sleeping area?
The answer was simple but required expertise:
A fully fabricated steel pop-top hatch, made right here in our workshop.
Why steel?
Safety comes before everything else. Steel reinforces the cut edges, preventing flexing or cracking over time. It also ensures the surrounding area remains strong enough to support movement, bedding, and general use.
The in-house fabrication process involved:
- Measuring the exact opening size
- Designing a reinforcing frame
- Cutting the access section with precision
- Welding and securing the steel frame into place
- Grinding and smoothing the edges
- Treating the metal to prevent corrosion
- Preparing the opening for trimming and carpet work
The result was a hatch that blends seamlessly with the pop-top while giving the structural support an H2 van absolutely needs.
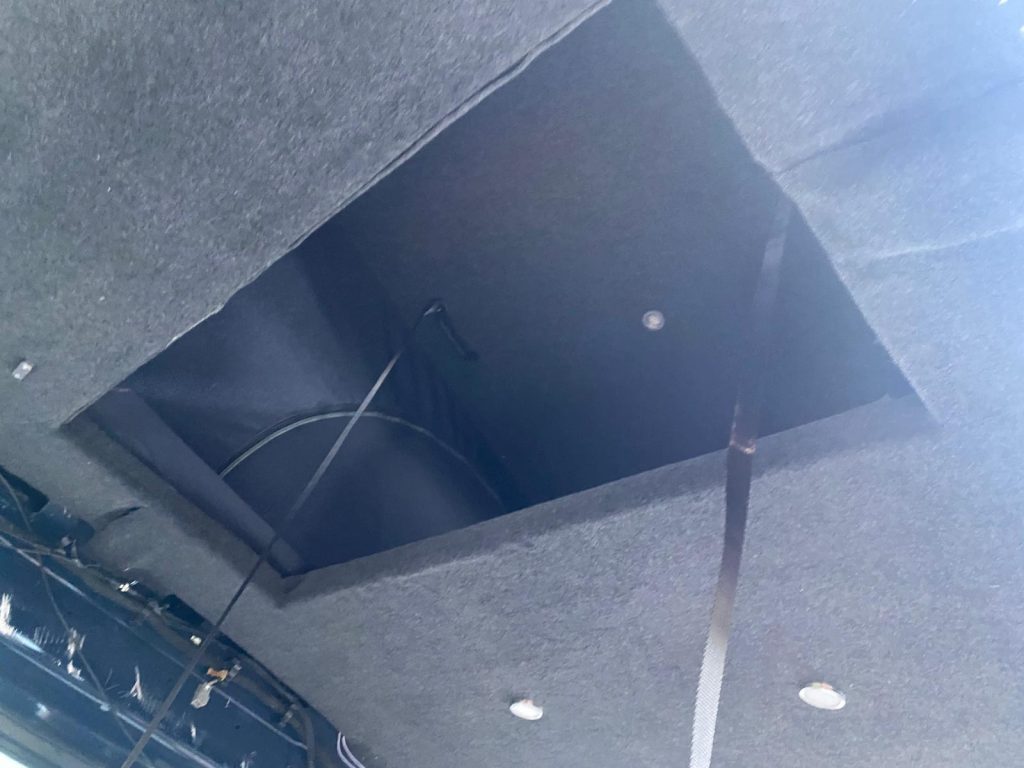
Creating a Strong, Comfortable Sleeping Area: Wooden Bed Boards in the Pop-Top
Because the original roof remained, we had the opportunity to build a solid, stable sleeping platform using fixed wooden bed boards, which were then fully carpeted in anthracite.
This method provides several key benefits:
- Maximum strength
Perfect for an H2 van where maintaining rigidity is essential. - Comfortable sleeping surface
The boards create a solid, reliable base that won’t flex or rattle. - Excellent insulation properties
The wooden structure absorbs vibration and helps regulate temperature. - Professional finish
Fully carpeted in anthracite, the boards look seamlessly integrated. - Long-term durability
Properly fixed and lined, these boards will last for years with no maintenance.
The final result is a sleeping platform that feels more like a permanent loft than a folding bed. Paired with the pop-top canvas, it creates a brilliant elevated space that the customer can use immediately.
Supplying and Fitting the Pop-Top Roof
With the internal structure prepared, we moved on to fitting the pop-top roof itself. Even though the H2 height changes the approach, the final effect is still exactly what you’d expect from a high-quality pop-top upgrade.
Our pop-top installation process included:
- Precise cut-out for the steel hatch
- Safe removal of selected roof sections (without compromising strength)
- Structural preparation and reinforcement
- Sealing the bonding area for waterproof integrity
- Installing the pop-top shell
- Fitting high-strength hinges and gas struts
- Tensioning the canvas and aligning the frame
- Finishing trims, carpet lining, and sealing
The pop-top fits beautifully with the van’s lines, lifts smoothly, and provides excellent ventilation through its windows. Despite the higher roofline, the finished look is clean, factory-like, and aerodynamic.
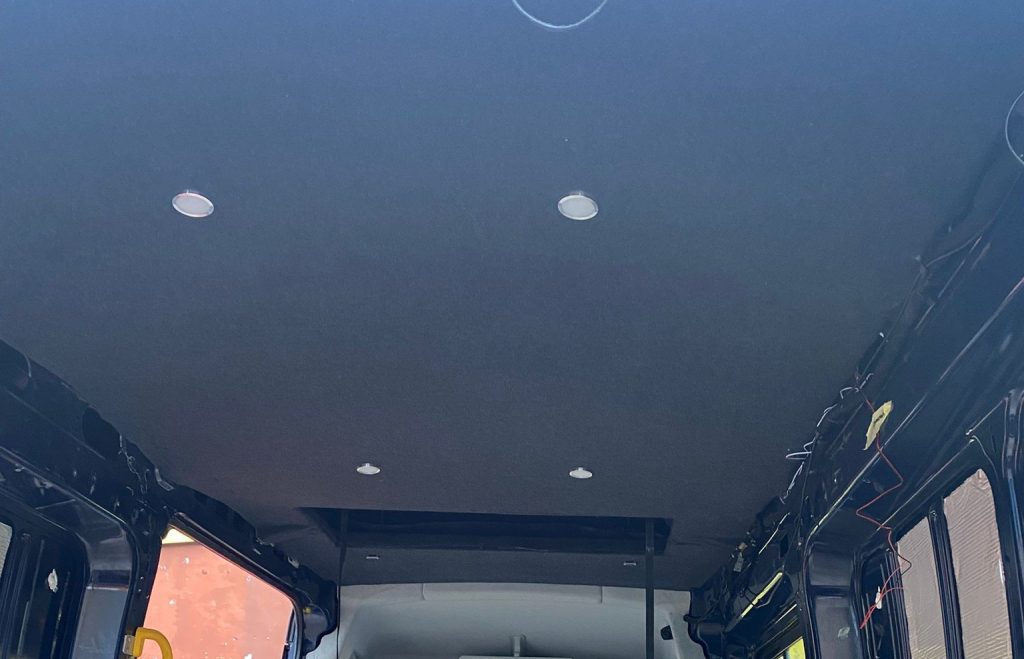
LED Lighting – Bringing the Pop-Top and Cabin to Life
Lighting is often underestimated, but it makes a massive difference to the usability and atmosphere of any campervan.
We installed LED lighting in two key locations:
1. Inside the pop-top roof
Perfect for reading, relaxing, or illuminating the upper bed during evening use.
2. In the main roof of the van
This ties the lower living area into the pop-top for a cohesive interior feel.
Benefits of the LED system:
- Low power consumption
- Bright, modern lighting
- Perfect for leisure batteries and 12V setups
- Long-lasting and cool-running
- Stylish, clean finish
These LEDs are fully ready to be connected to the customer’s future 12V electrics, allowing them to build out the rest of the van in stages as their time and budget allow.
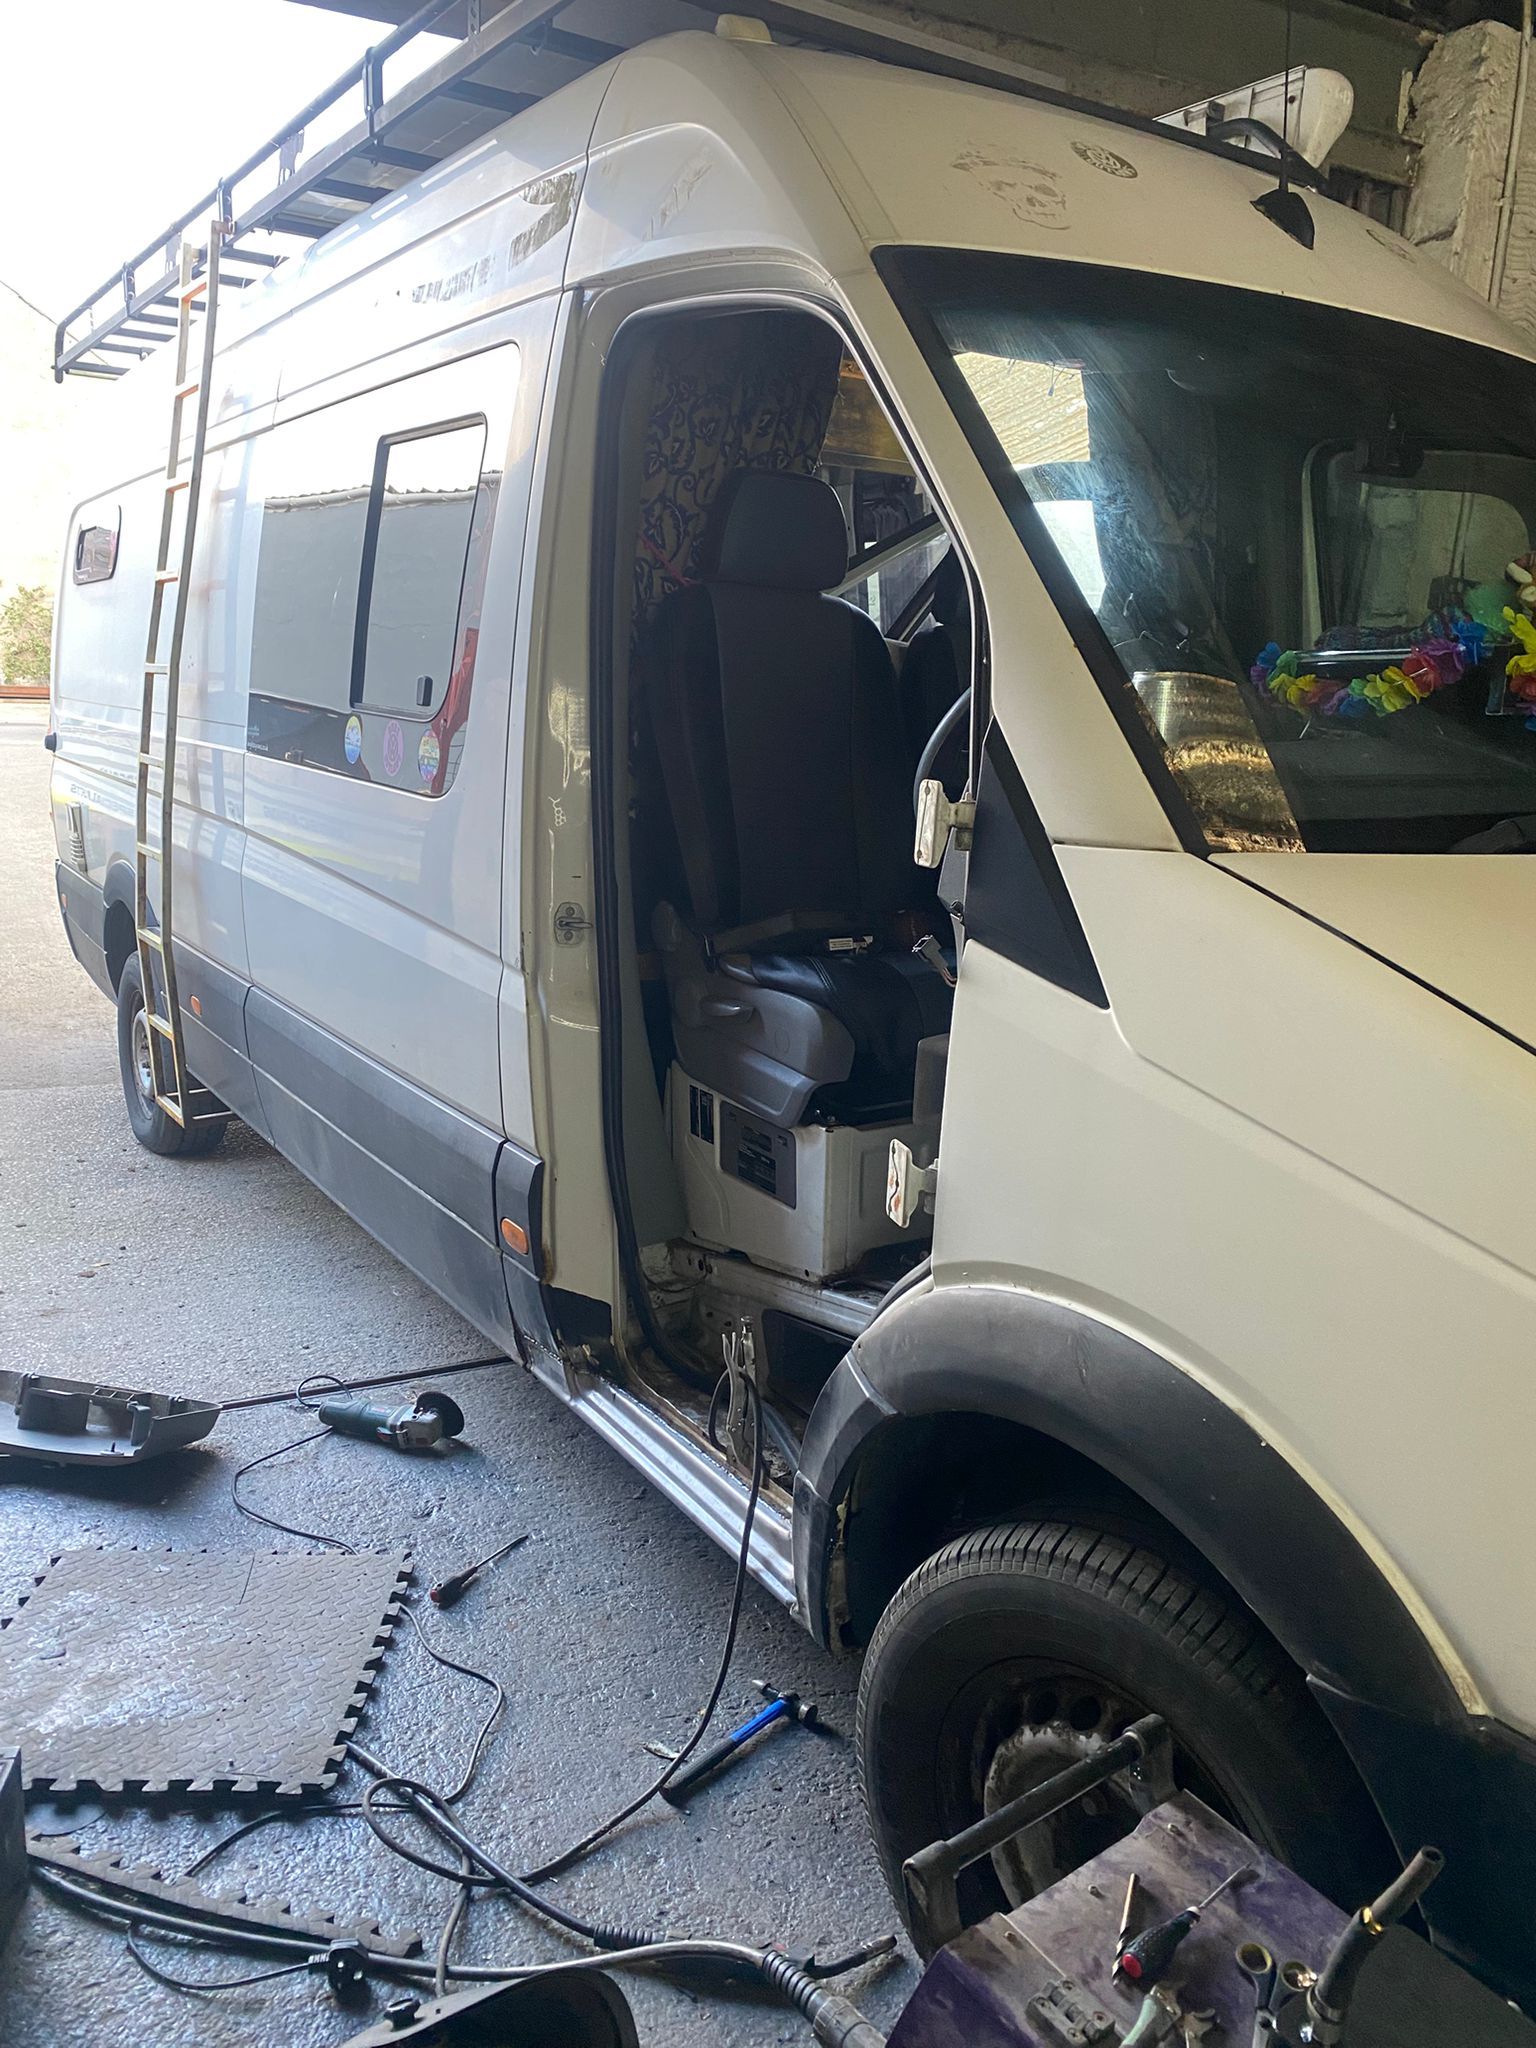
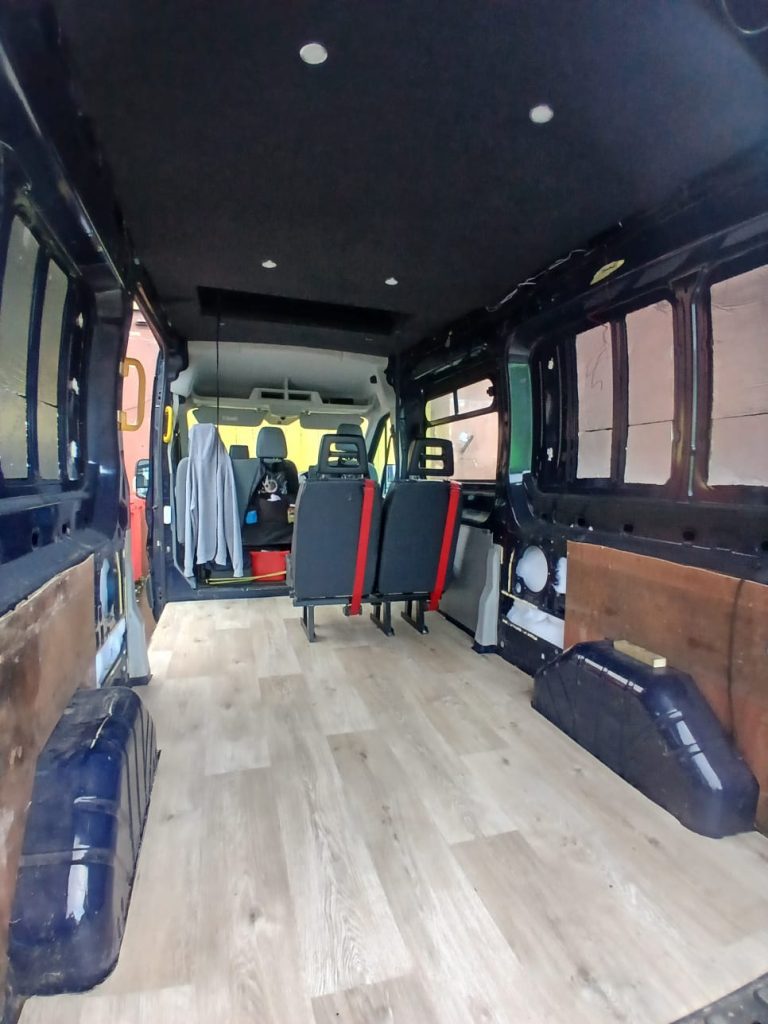
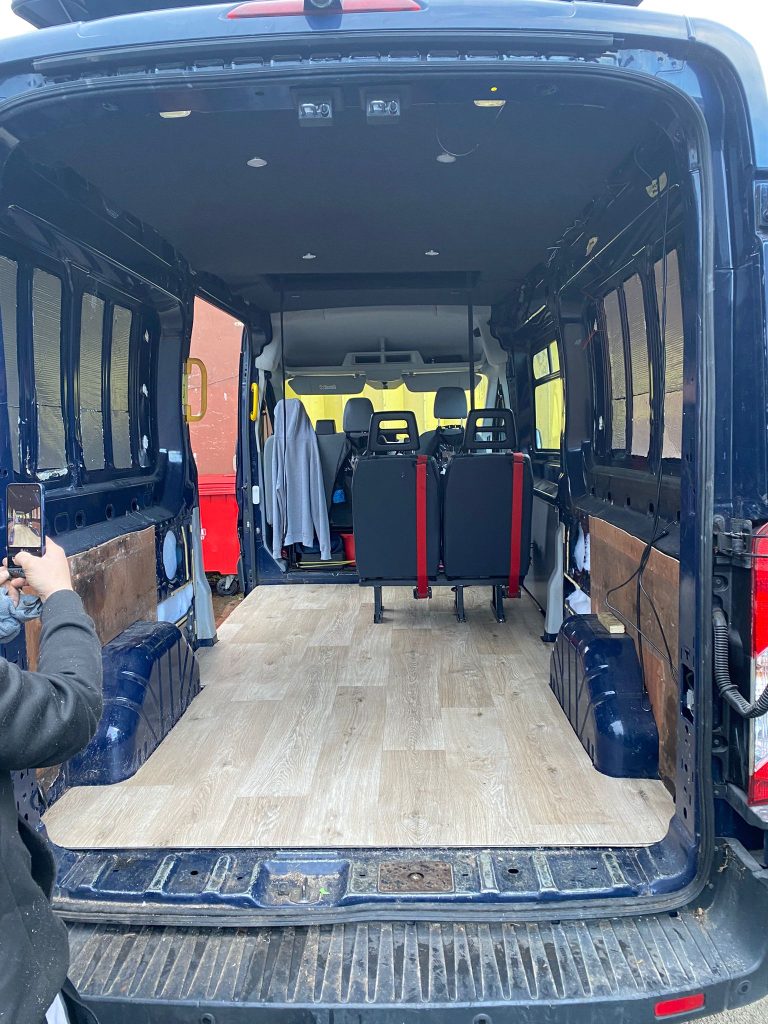
Flooring Installation – A Fresh Foundation for the Van’s Interior
A new floor can redefine the entire look and feel of a campervan. For this Transit Custom, we installed a clean, durable floor designed to handle daily use, camping, and the wear of rear seating.
Our flooring installation process:
- Preparing and cleaning the subfloor
- Cutting floor sections precisely to the van’s contours
- Bonding materials securely
- Ensuring a perfectly flat, professional fit
- Trimming the edges in line with the wall panels
The fresh floor gives the van a crisp, modern appearance and sets the stage for future furniture installs.
Rear Seats Installed – Making the Van Practical for Travel
Rear seating is a big part of making a van family-friendly or travel-ready. For this build, we installed rear seats securely into the freshly floored interior.
Installation points included:
- Selecting the correct seating position
- Reinforcing mounting points
- Installing brackets and fixings
- Ensuring perfect alignment and safety compliance
- Testing seat operation and comfort
The rear seats tie the entire conversion together, making the van comfortable for passengers and perfectly suited for road trips.
Customer Handover – A Fantastic Reaction
When the customer arrived to collect their upgraded Transit Custom, their reaction said everything. They were thrilled with how the pop-top looked, how solid the interior felt, and how the LED lighting and bed boards transformed the space.
They particularly loved:
- How well the pop-top blends with the van
- The strength and quality of the steel hatch
- The clean anthracite finish
- The new flooring and seating layout
- The lighting setup
- The overall transformation of the interior
Nothing beats seeing a customer drive away excited for the next chapter of their campervan journey.
Why Choose a Pop-Top on an H2 Transit Custom?
If you have an H2 model, you might think a pop-top isn’t an option — but this project shows just how achievable it is with the right approach.
Key benefits include:
- Extra sleeping capacity
- More headroom
- Better ventilation
- A brighter, more open interior
- Flexible future upgrade options
- Increased resale value
- Improved comfort for long trips
And with structural integrity preserved thanks to keeping the original roof, it’s a highly practical and safe solution.
Are You Planning Your Own Transit Custom Build?
Here are some helpful questions:
- Do you need more space for sleeping or standing?
- Is your van an H1 or H2 model?
- Are you planning a full conversion or staged upgrades?
- Would LED lighting, new flooring, or seating improve your layout?
Whether you’re at the start of your campervan journey or halfway through a build, we’re here to help.
📞 Ready to Upgrade Your Ford Transit Custom?
We specialise in pop-top roof installations, fabrication, flooring, seating, electrics, full conversions, and bespoke designs.
📍 Rhyl, North Wales
📞 01745 771 231
🌐 https://kinmelcampers.co.uk
📧 info@kinmelcampers.co.uk
Your van deserves the best — and we’re proud to offer workmanship you can trust.